
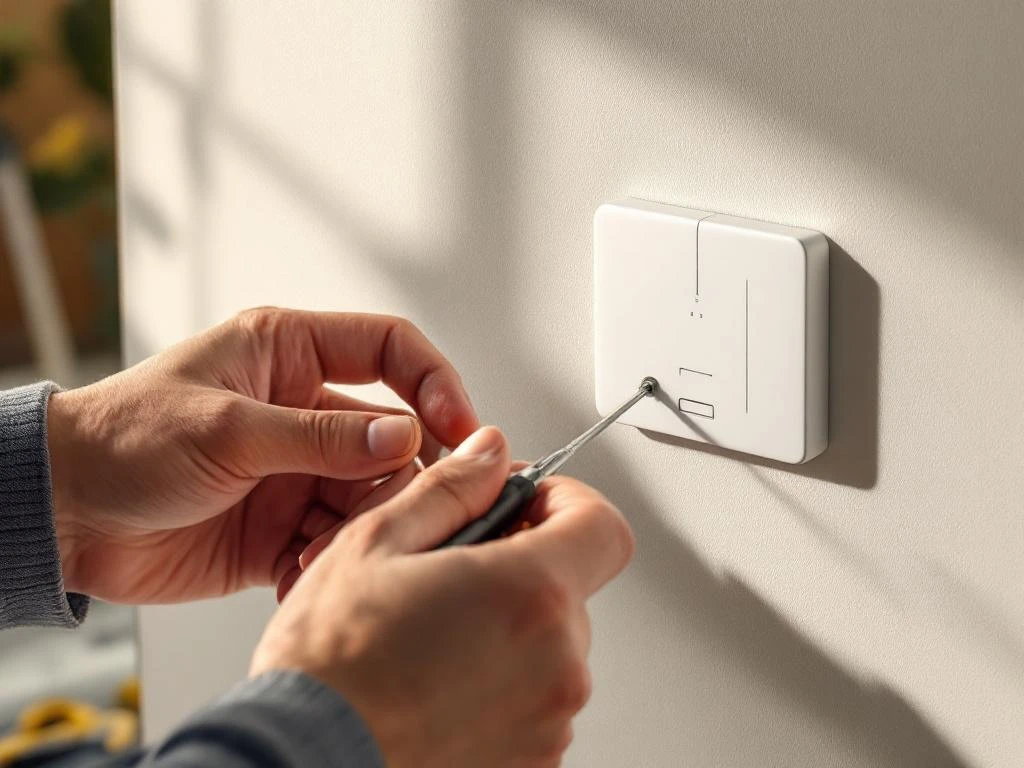
WiFi controlled switches are smart devices that allow you to control the lights in your home wirelessly via smartphone or voice commands. They replace traditional switches and connect to your WiFi network for remote control. Installation requires basic electrical knowledge and the right preparation, but the process is manageable for most people. This guide answers the most common questions about installing WiFi controlled switches.
What are WiFi controlled switches and how do they work?
WiFi controlled switches are smart switches that connect directly to your home network and allow you to control your lights via an app on your phone or tablet. Unlike traditional switches, they contain a built-in WiFi module that communicates with your router. You can turn lights on and off from anywhere, schedule lighting and integrate with other smart home devices.
A WiFi-controlled switch consists of several components working together. The electronic circuit inside handles both the physical switch function and the wireless communication. When you press the switch manually or send a command via the app, the device turns the power to the light on or off. Many models also have status lights that show the connection status and act as night lights.
The technology behind wireless control is based on the switch continuously communicating with your WiFi router. Through the app on your phone, commands are sent over the internet or local network to the switch. This allows you to control the lights from home or when you are away. Most WiFi switches work with standard LED, incandescent and low-energy bulbs, but it is important to check compatibility before purchase.
What preparations do I need to make before installation?
Before you start installing a WiFi controlled switch, you need to check that your existing electrical installation is compatible. Most WiFi switches require a neutral conductor in the wall socket, which is not always present in older installations. Carefully open the switch (after turning off the power) and check that you have three wires: phase (usually brown), neutral (blue) and earth (yellow-green). If the neutral wire is missing, you will need to hire a qualified electrician to rewire.
Your WiFi network must also meet certain requirements for the switch to work. Most smart switches require a 2.4 GHz WiFi network with stable coverage where the switch will be installed. Check that the signal strength is good at the location by testing with your phone. If the signal is weak, you may need to install a WiFi booster or move the router closer.
Also prepare the right tools and safety equipment before you start. You will need a screwdriver (usually flat and Phillips), voltage testers to make sure the power is off, and possibly wire cutters. Download the manufacturer's app to your smartphone and create an account if required. Also have the installation manual available.
Keep in mind that electrical work can be dangerous and requires caution. If you are unsure about any aspect, or if your installation is not standard, you should contact a qualified electrician. We are happy to help you with the professional installation of WiFi controlled switches and other smart security solutions.
How to install a WiFi controlled switch step by step?
Always start by turning off the power at the main fuse for the room where you will be working. Use a voltage tester to confirm that the power is indeed off before touching any wires. This is the most important safety step and should never be skipped. Feel free to label the fuse so that no one accidentally turns on the power while you are working.
Remove the old switch by unscrewing the cover plate and then the screws holding the switch mechanism itself to the wall. Carefully pull out the switch and note how the wires are connected. Feel free to take a photo with your phone for reference. Disconnect the wires from the old switch by unscrewing the clamping screws. Be careful not to let the wires fall into the wall.
Identifiera och anslut ledningarna till din nya WiFi-strömbrytare enligt tillverkarens instruktioner. Vanligtvis ansluts fasledningen (brun) till märket ”L” eller ”Live”, nollledaren (blå) till ”N” eller ”Neutral”, och jordledningen (gul-grön) till jordsymbolen. Dra åt skruvarna ordentligt så att ledningarna sitter fast, men inte så hårt att du skadar dem. Kontrollera att ingen koppartråd sticker ut från anslutningarna.
Install the switch in the wall socket by gently pushing the wires into the box and tightening the switch with the mounting screws. Replace the cover plate and restore power at the main fuse. The switch should now light up or show some form of indication that it has power.
Configure the WiFi connection by opening the manufacturer's app on your smartphone. Follow the instructions to put the switch in pairing mode, which is often done by holding the button for a few seconds until the light flashes. Select your WiFi network in the app and enter the password. Once the connection is established, you can name the switch and test that it works both manually and via the app.
Common mistakes to avoid include mixing up the phase and neutral, which can cause the breaker to malfunction or even be damaged. Don't forget to check that all connections are tightened and that no copper is visible. If the light flashes irregularly or does not react, check the WiFi connection and that the switch has the correct power.
What to do if the WiFi switch does not work after installation?
If the switch does not connect to WiFi, the problem may be due to several things. Check that you are using the 2.4 GHz network and not 5 GHz, as most WiFi switches only support 2.4 GHz. Ensure that the WiFi password is correct and that the signal strength is sufficient where the switch is installed. Try restarting your router and putting the switch in pairing mode again by holding the button for 5-10 seconds.
When the switch does not respond to commands from the app, but works manually, it is often a network problem. Check that your phone and the switch are connected to the same WiFi network. Close and reopen the app, or log out and back into your account. If the problem persists, there may be a firmware update that needs to be installed via the app.
If the switch does not work at all, either manually or via the app, turn off the power and check that all wires are connected correctly. Use a voltage tester to verify that there is power coming to the switch. In particular, check that the neutral wire is properly connected, as many WiFi switches need it to work.
A flashing light in the power button often indicates different status modes. Fast flashing usually means pairing mode, while slow flashing may mean it is trying to connect to WiFi. Consult the manufacturer's manual to understand what different flashing patterns mean for your particular model.
Resetting to factory settings can solve many problems. This is usually done by holding the power button for 10-15 seconds until the light flashes in a specific way. After resetting, you will need to configure the WiFi connection again from scratch via the app.
If you have tried all troubleshooting steps without success, there may be a fault with the product or a problem with your electrical installation. Contact the manufacturer for technical support or warranty issues. If you suspect that the problem is in the electrical installation, you should contact a qualified electrician. At 24 Center, we offer professional assistance with the installation and troubleshooting of smart security solutions, including WiFi controlled switches and other smart home components. Call us on 08 40 24 240 and we will help you.