A leaky kitchen faucet is a common problem that you can often fix yourself with the right tools and techniques. The leak may come from the faucet, around the handle, or under the sink, and is usually caused by worn gaskets, loose connections, or limescale deposits. With basic plumbing knowledge and a little patience, you can fix most leaks without having to call a plumber.
What causes a kitchen faucet to start leaking?
The most common causes of a leaking kitchen faucet are worn washers and sealing rings that have hardened over time. Limescale deposits from hard water can also cause leaks by preventing valves from closing properly. Loose connections under the sink are another common cause, especially if the faucet has been exposed to vibrations or movement.
To identify where the leak is coming from, first wipe down all surfaces around the mixer tap. Then let the water run and observe where the drops form. Leaks from the tap spout often occur when the water is turned off, while leaks around the handle are visible when you turn the mixer tap. A water leak under the sink is usually noticeable through moisture in the cabinet under the sink.
Age also plays an important role – mixers that are older than 10–15 years often have several components that start to wear out at the same time. Hard water accelerates wear on gaskets and valve seats, causing leaks to occur earlier than expected.
What tools do I need to repair a leaking mixer tap?
To repair a leaking kitchen faucet, you will need basic tools such as a wrench, screwdriver, and pliers. You will also need specific replacement parts such as washers, O-rings, and possibly new valve seats, depending on the type of leak.
Basic tools include:
- Adjustable wrench (size 10–15 mm)
- Cross-head screwdriver and slotted screwdriver
- Water pump rod for larger couplings
- Flashlight for seeing under the sink
- Towel or cloth for drying up water
Spare parts you may need:
- Gaskets in various sizes (usually 15–22 mm)
- O-rings for sealing
- Teflon tape for threads
- Descaling agent for cleaning
- Silicone grease for lubricating gaskets
How do I safely turn off the water before the repair?
Always turn off the water before you start repairing a leaking faucet to avoid flooding. Locate the shut-off valves under the sink —there is usually one for hot water and one for cold water. Turn them clockwise until they cannot be turned any further.
If you cannot find local shut-off valves under the sink, you may need to turn off the main water supply to the entire home. The main valve is usually located in the basement, in a utility room, or outdoors near the water meter. Mark the location of the main valve so that you know where it is in the future.
After turning off the water, open the mixer to drain any remaining water from the pipes. This will prevent water from flowing out when you dismantle parts. Place a towel or bowl under the work area to catch any spilled water.
Check that the water is really turned off by trying to open the mixer fully. No water should come out. If water is still running, double-check that you have turned the right valves or turn off the main water supply instead.
How do I fix a mixer tap that drips from the faucet?
A mixer tap that drips from the spout usually has broken seals or worn valve seats that need to be replaced or cleaned. Start by removing the handle by unscrewing the screw that holds it in place, usually hidden under a plastic plug.
Once the handle has been removed, you will see the valve housing, which is held in place by a large nut. Use a wrench to unscrew the nut and lift out the entire valve unit. Inspect the gaskets—if they are hard, cracked, or deformed, they need to be replaced.
Thoroughly clean the valve seat of limescale deposits using a descaling agent or vinegar. Small scratches in the valve seat can cause leaks even with new gaskets. Replace all gaskets and O-rings, even those that appear intact, as rubber ages and loses its elasticity.
Reassemble everything in reverse order and lightly lubricate the gaskets with silicone grease before assembly. Tighten the connections securely but not too tightly – this can damage the new gaskets. Test the mixer by turning the water back on.
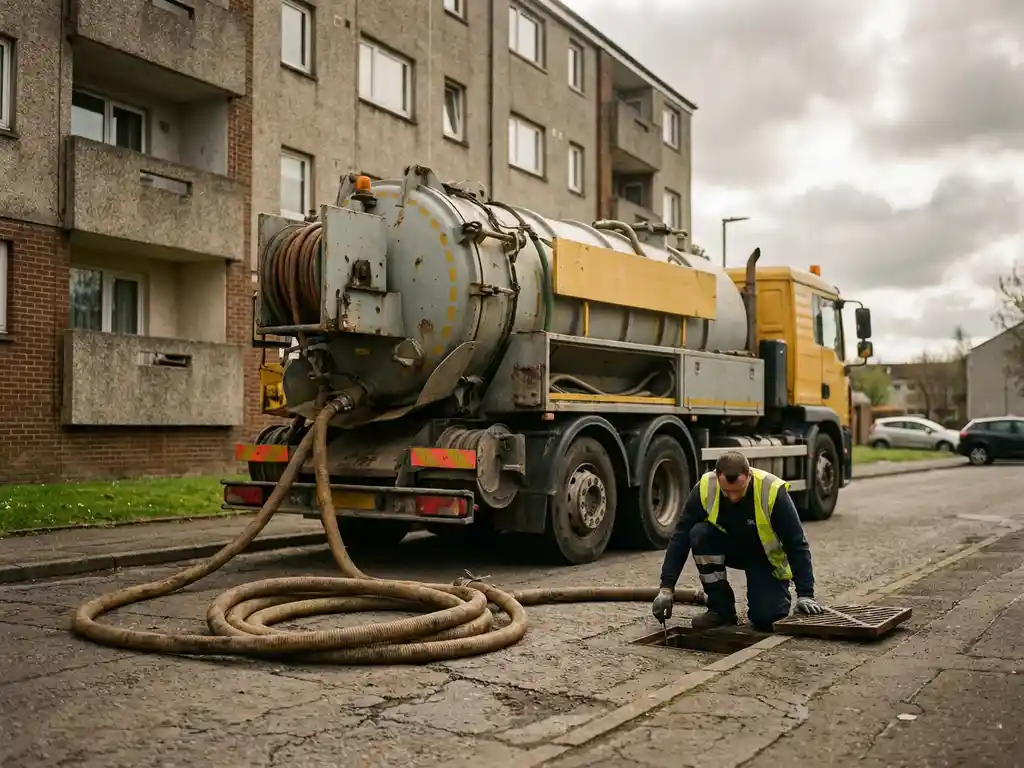
What should I do if the mixer tap is leaking under the sink?
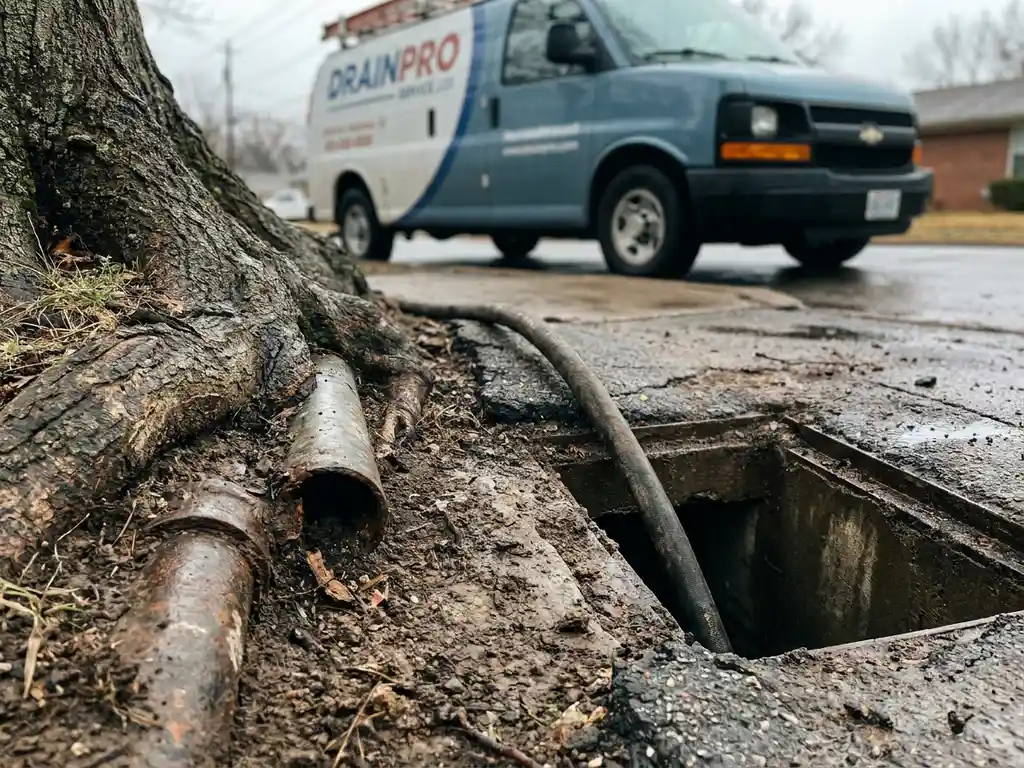
Leaks under the sink usually come from loose connections or defective flexible hoses that connect the mixer tap to the water pipes. Use a flashlight to inspect all connections and identify where the water is coming from.
Check the connection surfaces where the flexible hoses connect to the shut-off valves. These connections can loosen over time due to vibrations. Tighten them carefully with a wrench, but be careful not to overtighten and damage the threads.
Inspect the flexible hoses carefully—they can develop cracks or damage that cause leaks. Flexible hoses should be replaced every 5–7 years as preventive maintenance. If the hoses feel stiff or have visible damage, replace them with new ones.
Also check the connection where the flexible hoses are connected to the mixer from above. This connection may need to be tightened or have new gaskets fitted. If the leak continues after you have tightened all connections, the problem may be inside the mixer and require more extensive repair.
How 24 Center helps with plumbing problems in the kitchen
At 24 Center, we understand that plumbing problems in the kitchen can disrupt the daily life of the entire household. Our qualified plumbers offer professional help with all types of kitchen faucet problems, from simple leaks to more complex installations.
Our plumbing services for the kitchen include:
- Emergency service for water leaks and flooding
- Repair and replacement of kitchen mixers of all brands
- Installation of modern mixers with advanced features
- Remedying low water pressure and other flow problems
- Preventive maintenance to prevent future problems
We work around the clock, every day of the year, because we know that a water leak doesn't wait for office hours. Our local technicians are familiar with different types of mixers and can quickly identify the right solution for your specific problem.
Ring oss på 020 74 24 70 för omedelbar hjälp med akuta VVS-problem, eller boka ett besök online för planerade reparationer och installationer. Vi kommer alltid med rätt verktyg och reservdelar för att lösa problemet redan vid första besöket.
Frequently asked questions
How do I know if it's worth repairing my old mixer or if I should buy a new one?
If your mixer is more than 15 years old and has several problems at the same time (leaks, poor water pressure, worn handles), it is often more economical to buy a new one. However, if the leak is isolated to a specific part and the mixer otherwise works well, repair is usually the most cost-effective option.
What should I do if I can't loosen the handle on my mixer?
Start by spraying penetrating oil (such as WD-40) around the screw and leave it to work for 15-20 minutes. Then use the right size screwdriver and press down hard while turning. If the screw is still stuck, you may need to gently heat the area with a hair dryer to expand the metal.
How often should I replace gaskets and O-rings as a preventive measure?
In areas with hard water, it is recommended to replace washers every 3-5 years, while in softer water they can last 7-10 years. Signs that washers need to be replaced include small drops from the tap even when it is closed, difficulty closing the mixer completely, or visible cracks in the rubber material.
Can I use standard rubber seals from a hardware store instead of original accessories?
It is best to use gaskets that are specifically made for your mixer model, but standard gaskets from DIY stores often work well as a temporary solution. Check that the size is exactly right and that the material is suitable for drinking water. O-rings should always be made of food-grade rubber.
What should I do if the water turns brownish after I have repaired the mixer?
Brownish water after repairs is usually caused by sediment and rust loosening in the pipes during the work. Let the water run for 2-3 minutes until it becomes clear again. If the problem persists, there may be corrosion in the water pipes that requires professional assessment.
How can I prevent future leaks in my kitchen faucet?
Clean the mixer regularly from limescale deposits with vinegar, avoid closing the taps too tightly, and check the connections under the sink annually. In areas with very hard water, installing a water filter or softener can significantly extend the life of the mixer.