Replacing a flush button is a common toilet maintenance taskthat most people can do themselves with the right tools and knowledge. The process requires turning off the water, removing the old button, and installing a new one. With the right technique and care, replacing a flush button usually takes 30–60 minutes to complete.
What is a flush button and why does it stop working?
A flush button is the mechanism that activates the toilet flush by lifting the valve in the flush cistern. The button consists of several parts: the button itself, a spring mechanism, a chain or rod that connects to the valve, and fasteners.
Common reasons why flush buttons stop working include limescale deposits that prevent movement, wear and tear on plastic parts after years of use, and broken springs or chains. Mechanical problems often occur when components become loose or misaligned.
Different types of flush buttons have varying lifespans. Simple push-button systems usually last 5–8 years, while dual flush buttons for different flush volumes may need maintenance after 3–5 years. Water quality also affects durability—hard water with high lime content significantly shortens the lifespan.
What tools do you need to replace a flush button?
Tools and materials for installing a flush button include a screwdriver (both flat and Phillips), adjustable pliers, a new flush button with accompanying parts, and possibly a new chain or rod. Also have a towel and bucket available for collecting water.
Safety precautions are important during the work. Always turn off the water at the toilet shut-off valve or the main tap. Empty the cistern completely by flushing and holding down the flush button until all the water has drained out.
Before you begin, check that the new flush button is compatible with your cistern type. We recommend bringing the old button with you to the store to ensure the correct fit and mounting hardware.
How to replace a flush button step by step?
Replacing the flush button begins with turning off the water supply and emptying the cistern. Carefully remove the cistern lid and place it in a safe place where it cannot fall or be damaged.
Disconnect the chain or rod from the old button. Unscrew the button from inside the cistern – most have threads that turn counterclockwise. Some buttons have plastic nuts that are held in place with clips or springs.
Install the new button by inserting it through the hole in the cistern lid and screwing it in place from the inside. Adjust the length of the chain so that the valve opens fully when you press the button, but closes properly when you release it.
Common mistakes to avoid include a chain that is too tight, preventing the valve from closing, or a chain that is too loose, preventing the valve from opening sufficiently. Test the function several times before replacing the cover and turning the water back on.
What problems can arise when replacing a flush button?
Complications during installation of a flush button include a rusted old button that cannot be unscrewed, a cracked cistern around the button's attachment point, or incompatible parts that do not fit together properly.
If the old button is stuck, you can try using penetrating oil and leaving it to work for a few hours. Never use force that could damage the cistern. Cracked mounting points often require professional repair or replacement of the entire cistern.
Problems with water leakage after installation are usually due to incorrectly fitted seals or insufficient tightening. Check all connections and adjust carefully.
Contact a professional plumber if you encounter structural damage to the cistern, complicated pipe problems, or if the water does not shut off properly despite correct adjustments. Some repairs require special tools and expert knowledge for safe results.
How 24 Center assists with flush button repairs
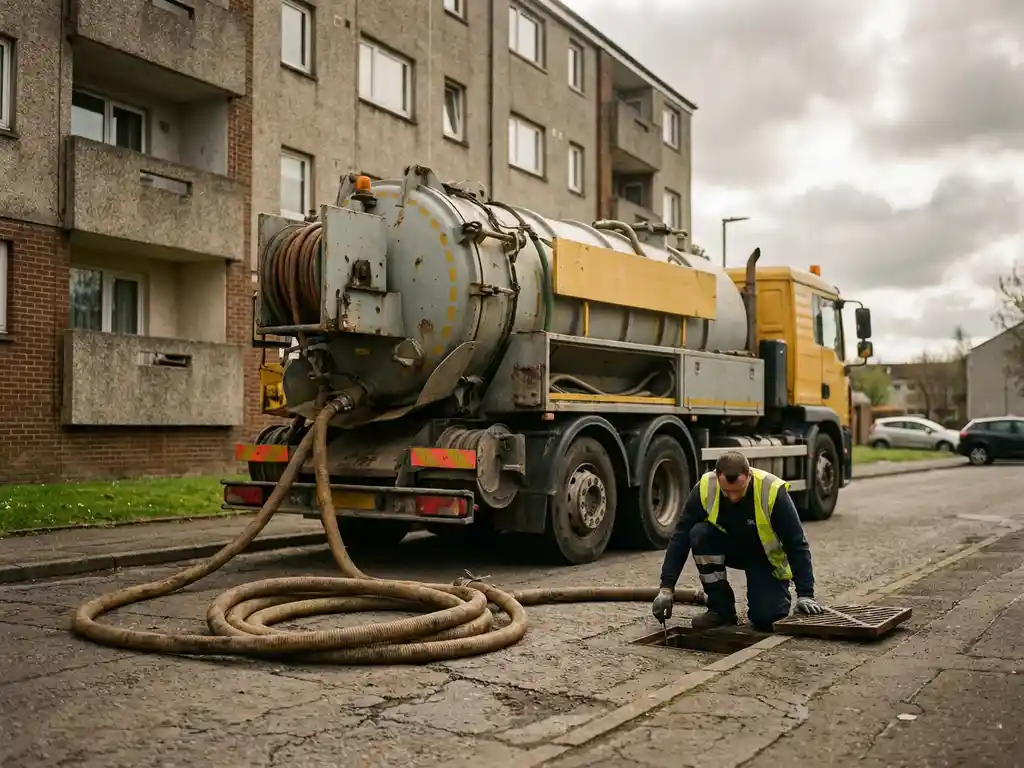
At 24 Center, we offer professional assistance with all types of toilet maintenance and flush button repairs around the clock, every day of the year. Our qualified plumbers handle both simple flush button replacements and complex cistern repairs.
Our plumbing services for toilet maintenance include:
- Emergency repair and installation of flush button
- Cistern maintenance and valve adjustments
- Diagnosis of flushing problems and water leaks
- Modernization to water-saving flushing systems
- Complete toilet installation and renovation
With our nationwide network of local technicians, we ensure fast response times and accurate service. Our specialists are familiar with different types of cisterns and can quickly identify the right solution for your specific problem.
Ring 020 74 24 70 för omedelbar hjälp med brådskande problem med spolknapp, eller boka online för planerade underhållsarbeten. Vi kommer alltid med rätt verktyg och reservdelar för att lösa problemet effektivt.
Frequently asked questions
How do I know if I need to replace the entire flush button or just the chain?
If the button feels loose or does not return to its original position after being pressed, the entire mechanism usually needs to be replaced. If only the flush is not working properly, the problem can often be solved by adjusting or replacing the chain. First check whether the chain has come loose or broken before replacing the entire button.
How much does it cost to replace a flush button yourself compared to hiring a plumber?
A new flush button usually costs between $17 and $47, depending on the type and quality. Hiring a plumber typically costs between $100 and $170, including labor and materials. So you can save between $70 and $130 by doing the job yourself, assuming no complications arise.
Can I replace the flush button without turning off the main water supply to the entire apartment?
Yes, most toilets have their own shut-off valve on the wall behind the toilet seat. Turn this valve clockwise to shut off the water to the toilet only. If the valve is defective or missing, you will need to temporarily shut off the main water supply while you work.
What should I do if the new flush button does not fit into the hole in the cistern lid?
First, check that you have the right type of button for your cistern – there are different standards and sizes. If the hole is too small, it can be carefully widened with a file, but proceed with caution to avoid cracks. If the hole is too large, you will need a button with a larger mounting plate or an adapter.
How long should the chain be between the flush button and the valve?
The chain should have approximately 1-2 cm of slack when the valve is closed. A chain that is too short will prevent the valve from closing properly, causing continuous water leakage. A chain that is too long will prevent the valve from opening sufficiently for effective flushing. Test by flushing several times and adjust if necessary.
Is it normal for a little water to drip after I replaced the flush button?
No, it should not drip at all after proper installation. Dripping usually indicates that the chain is too short, the valve is not seated properly, or the seal around the button is incorrectly installed. Check all connections and adjust the chain length before the problem worsens.
When should I contact a professional instead of trying to do it myself?
Contact a plumber if the cistern is cracked, if old fasteners have rusted and risk damaging the porcelain, or if there are signs of water leakage behind the toilet. Even if you feel unsure about water installations or if the problem persists after your repair attempt, it is best to seek professional help.